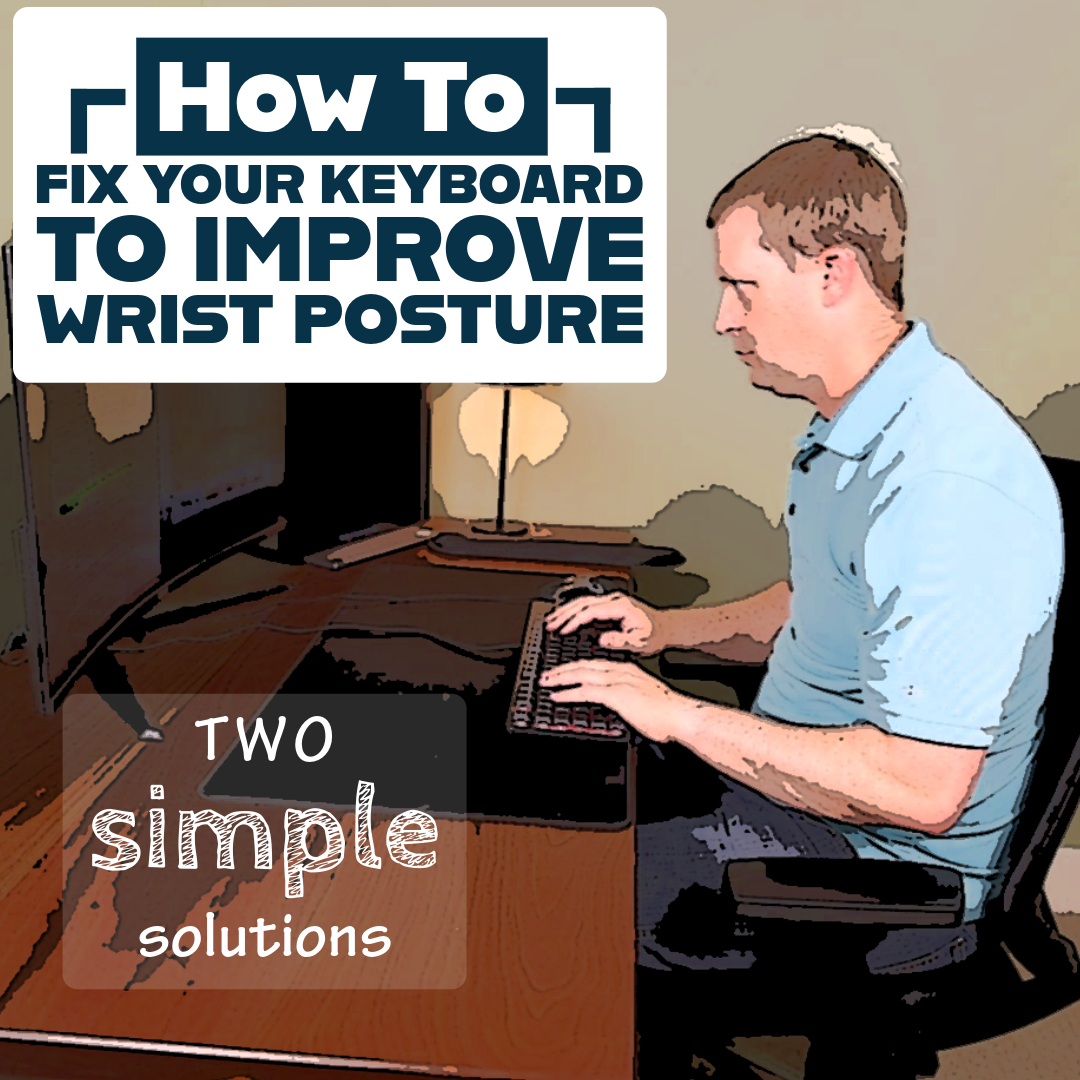
Constant use use of a computer keyboard can lead to wrist pain. The common culprit: poor posture. Over the years of performing individual office ergonomic observations, the variation is how people set up their desks amazes me. The thing is, most think that they are doing everything right, but wonder why they are having issues. This is where having a second set of eyes to look at your set-up can give you a whole new perspective.
Allow me to give you a new perspective on your keyboard. Wrist pain, strain, and injury related to the keyboard comes down to three ergonomic risk factors: posture, force, and repetitive motion. If you aren’t interested in the background, jump ahead to the fixes.
Keyboard Force

The force to depress keyboard keys today is a fraction of what it was years ago. I generally do not see this as being an issue anymore. That’s not to say that we can self-induce high force by being a heavy typer. Consider this. When you are rushing, mad, or stressed – do you type softly and gently or are you pounding the keys harder than a pianist at a rock concert?
Repetitive Motion
Stop making so many errors. I once had access to software that counted keystrokes and had a special callout on how often the backspace key was pressed. You would be shocked at how often we take advantage of that key of typing forgiveness. I never dove into why this was, but it does have an effect on how many keystrokes we make per day. I have seen figures upwards of 20,000+ total keystrokes per day. That’s getting up there. The more errors we make, the more typing and re-typing that we have to do. There are ways to reduce repetitive motion on keyboards like using using speech-to-text, leveraging AI when able, using copy/paste for highly redundant work, or simply practice typing skills like we used to do in grade school to improve proficiency.
Awkward Posture


When typing, our fingers are flexing downward to press down on the keys followed by finger extension muscles pulling upward to lift off the key. Our wrist posture play a pivotal role in how hard or easy the fingers have to work. In general, a neutral to slightly flexed wrist posture is ideal for typing.
This is super important, so let me emphasize this again:
Your wrists should be in a neutral to slightly flexed posture when typing (and mousing too).
The posture that I most commonly see is wrist extension. This not only puts the flexor tendons running through the carpal tunnel under more strain, it makes the flexor muscles and tendons move a longer distance. Yes, I said it, ‘carpal tunnel’. It’s the anatomical structure on the palm side of your wrist. – note that I did not say ‘Carpal Tunnel Syndrome’. There is some correlation here, but let’s not go there. That said, the two simple fixes can help reduce risk for carpal tunnel syndrome too.
How to check your wrist posture
Here’s a simple test to check your wrist posture while typing.
- Place a pen on the back of your dominant hand. Start with the pen resting against your knuckles, and let it extend back over your wrist.
- Type normally. The pen should stay on the back of your hand and wrist.
- Observe your wrist’s position.

Wrist Extension: This is the posture that you want to avoid! You can see light or an empty space under the back of the pen, especially near your wrist. This means your wrist is extended, which can lead to strain. Don’t worry if this is you, that’s why you are reading this and I’m here to help.

Good Posture (Neutral): The pen rests flat against the back of your hand and wrist, with no space underneath it. This is a neutral or flat position, which is also good.

Wrist Flexion: Some wrist flexion is OK. The pen “teeter-totters” or tilts slightly up at the back. This means your wrist is in a healthy, slightly flexed position. [The amount of wrist flexion in the photo is excessive an not advised – I wanted you to see clearly what wrist flexion looked like.]
Fix #1: Flatten the feet on your keyboard
I don’t know why those silly feet are installed on the backs of keyboards. They aren’t helping you or doing you any favors. It’s probably a traditional item that if the manufacturers removed them, they would get scalded by their customers. But let me tell you, from an ergonomics perspective, they are not needed.
To promote a neutral to slightly flexed wrist posture, you want your keyboard to be flat all the way to a slightly negative (or downhill) slope. The keyboard feet create a positive, or uphill slope. This will cause increased wrist extension and increased tension on the wrist – what we need to get away from. If they keyboard feet were placed on the front of the keyboard in line with with space bar, I’d say extend away.


Fix #2: Use a palm rest
Palm rest, wrist rest, keyboard pad . . . whatever you call it is a good thing. I like to think of it like a crutch or brace. The palm rest will not allow the wrist to drop in front of the keyboard and maintains an elevated wrist posture. The end result is no more wrist flexion. Palm rests are fairly inexpensive and will be a great addition to your office. Check out this example from Amazon.

Using a laptop? Not as essential because of the space in front of the keys is occupied by the finger pad, but still a good thing to use.
Recheck your wrist posture with the pen test listed above aiming for a neutral to flexed wrist posture when typing.
Before and After
After two easy fixes, you can see the difference in the photos below.


Want more tips like this?
I have a self paced on-line course that is packed full of this and other suggestions to improve your ergonomics. It’s called “Beyond the Office: Digital Ergonomics for the Every Day Person“. This self-paced and video based and takes about an hour. Well worth the time and investment in yourself. Don want to pay for it? Ask your employer to see if they will cover it. Check out a lesson for free.
Did you find this helpful? What other ideas or strategies do you have for improving your ergonomics when using a keyboard? Write a comment below and make sure you subscribe to stay tuned for more great advice like this. All subscribers will receive access to my free digital ergonomics checklist to get you started towards successful “Practical Ergonomics”. Looking for something for your organization, check out my complete Menu of Services to see how we can improve your ergonomics program.
As an Amazon Associate, I earn commission from qualifying purchases. See my Privacy Policy for more information.
Leave a comment, ask a question, or tell me what interests you