Tired of back pain from shoveling snow? Don’t let a winter wonderland turn into a backbreaking nightmare. This guide cuts through the marketing fluff to give you the real scoop on snow removal. Living in the Midwest, I know all too well the different types of snow events we get, from a light dusting to a heavy, wet blanket. You’ll be shocked at the range of tools that can be used to clear snow. We’ll explore simple techniques and tools that reduce force, manage repetition, and improve your posture so you can get the job done faster and with less pain keeping ergonomics in mind.
Proper Shoveling Tips & Techniques
It’s crucial to prioritize your body mechanics. This means use tools with good posture that give you a mechanical advantage. The type of snow you’re dealing with makes a huge difference which we’ll get to shortly (jump ahead here). Light and fluffy snow is a breeze, but heavy, dense snow can mean you’re lifting 30 or more pounds per scoop!
A single poor movement can cause an injury. This is why it’s vital to practice proper technique consistently and not fall into bad habits while using the right tool for the job. The combination of force and repetition will lead to fatigue, no matter how cold it is outside. Here are a few basic things to remember when shoveling snow:
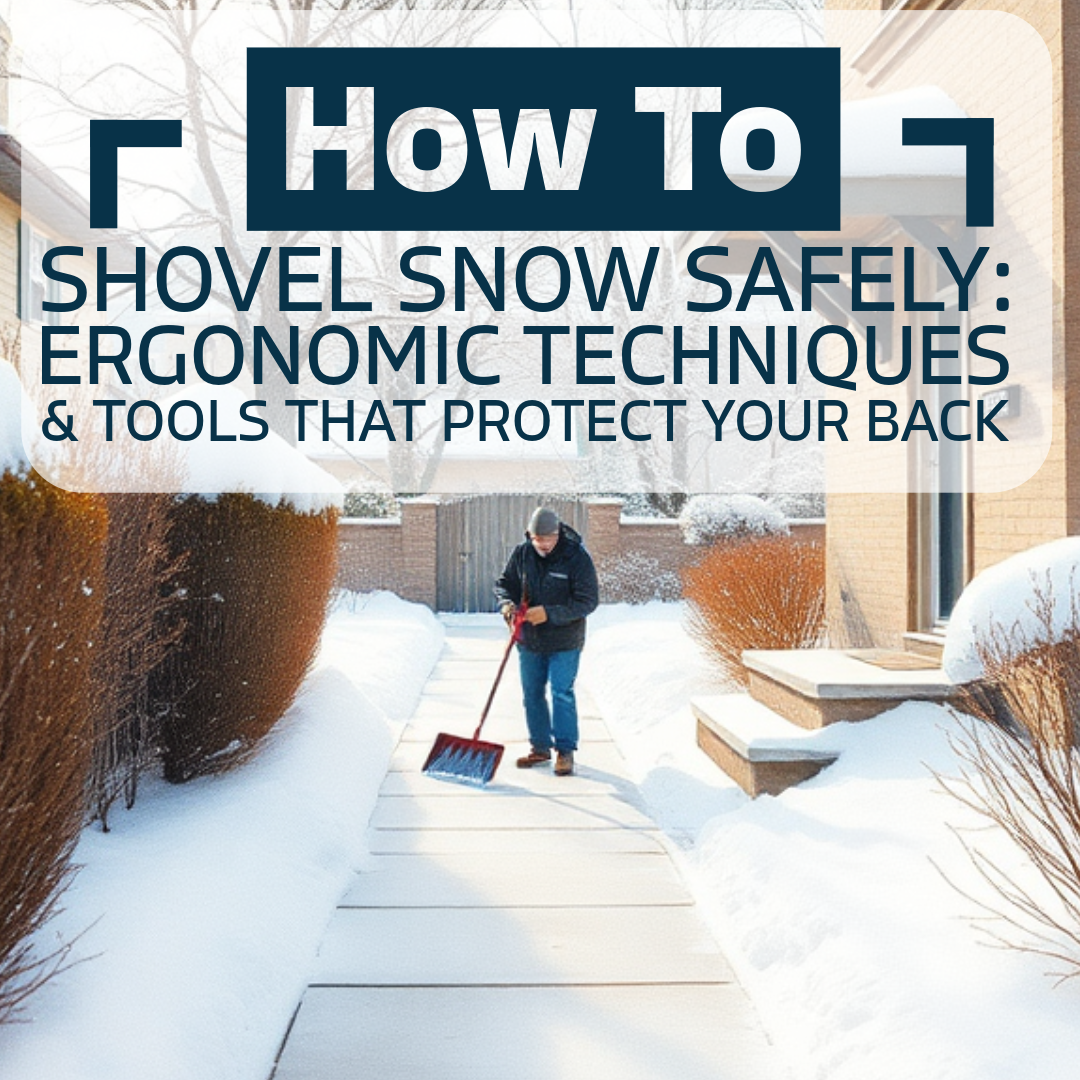
- Avoid bending at your back or waist. Doing so throws off your center of gravity and places significant strain on your lower back muscles. Instead, get your feet close to the snow you’re moving, bend your knees, and do the lifting using your powerful leg muscles.
- Break up wet and heavy snow into smaller, easier chunks. It’ll take more scoops to get the job done, but you won’t be breaking your back, or shovel, in the process.
- Pushing snow rather than lifting it can save you from a lot of unnecessary strain. This is great for the light and fluffy stuff.
- Avoid twisting the back. Move your feet. Step and throw snow in front of you – not over the shoulder or off to the side.
- Snow removal is not the Olympics – there is no gold medal for how far you can throw it. Toss the snow only as far as needed -again directly in front of you.
- Use the right tool for the job. Keep reading below for scenario based suggestions. Remember to ‘work smarter, not harder.’
- Your body is working hard, so make sure to warm up beforehand and stay hydrated by drinking plenty of water.
- If you have any health issues, you should consult with your doctor before clearing snow away as it can be strenuous.
Breakdown of snow removal tools for different snowfall types
I am a participant in the Amazon Services LLC Associates Program, an affiliate advertising program designed to provide a means for me to earn fees by linking to Amazon.com and affiliated sites.
Want to jump to the list of tools to put in your snow removal arsenal? Click here.
Is there such a thing as an “ergonomic” snow shovel?


Let’s look at what people refer to as the “ergonomic” style versus the standard model designed snow shovels. The ergonomic handle has a bend or second handle midway down the shaft. This is intended to reduce the forward and down reach of the bottom hand when compared to the straight handle model. This is generally an ergonomic advantage. It does not make you stronger or more capable – it puts you in a better posture when the scoop is below knee height.
One downside is that when snow piles get tall, the ergonomic handle design requires higher hands when placing scoops on top of the pile creating more awkward posture of the shoulders and can increase muscle strain on the back. The balance of the shovel also feels a little off if you aren’t simply tossing the snow straight in front of you.
½ Inch or less of light powdery snow
Have you ever considered using typical warm weather yard tools in the winter? If the snow it light enough, a leaf blower will make quick work of your driveway and sidewalk – just make sure you stay upwind. No shovel required. For gas powered, the Stihl BG-56 or for electric, the Milwaukee M18 Handheld Blower are great options – both of which I have personal experience with. [Side note – I’ve transitioned over to battery electric power recently and think it’s a great ergonomic choice. Lighter weight, no hand pull cord starting, and less vibration. All great ergonomic advantages. My wife no longer tells me I stink like gas either.]
Another option is the Snowcaster which works well too as it just needs to be pushed around. I like pushing it all into small piles and then use a grain shovel to move it off the driveway. I find this method to be less fatiguing than using a standard traditional snow shovel and is wider making it faster.

Less than 2 inches of light snow
Again, the Snowcaster is my favorite for small amounts of fresh powder on the driveway and sidewalks. Designed like a snowplow, it pushes and directs the snow to one side. I can get my 36” wide sidewalk done in 2 passes (down and back) which this in a fraction of the time that it takes to use a traditional 18” snow shovel. I have had multiple snow events where I did not need to pick up a single scoop of snow!
Just make sure you plan ahead. Know beforehand where you want to push the snow to – start in the center of the driveway and work your way outward. If the snow pusher starts to get packed and hard to push, clear it by pushing to an edge and lift up the pusher using your arms and one foot to kick it clear. Or just make a few piles near the edge of the driveway and come back later with a grain scoop to make quick work of it.
Less than 2 inches of wet, heavy snow
Wet heavy snow is terrible to shovel. It’s slippery, sometimes sticky, wet and very heavy. While we all probably wish we could just leave it and let it melt, it can freeze into a solid block of ice fairly quickly – which would present a whole new issue to deal with. The Snowcaster can be used, but it requires a good bit of extra horsepower and firm footing. The Snowcaster will “clog” up creating jam of slushy snow in front of the shovel. My suggestion is to make small piles and come back again with a standard ergonomic handle snow shovel.
A regular show shovel might have a place here. All depends on driveway or sidewalk size. Push the show along the ground as much as possible. Take small bites or small passes at a time controlling how much you are able to move in each pass or scoop.
The last option is to fire up the snowblower. Wet and heavy snow and snowblowers requires a little extra attention. They can clog (make sure the engine comes to a COMPLETE stop, before clearing the jam AND use a tool – NOT your hand). Make small, narrow passes and don’t be in a rush. This is not a time to take a full width pass. You want to keep the RPM of the impeller up so it can throw it as far as possible. Wet and heavy snow will make your snowblower look weak – but I’d take this over manually shoveling it. Another quick tip – try not to ‘double throw’ the snow. Once snow goes through the blower once, it gets more packed and dense . This will only make an already difficult task even more difficult.
2 Inches or more of wet or dry snow
With 2 or more inches of snow of any type, The Snowcaster simply does not have the capacity and becomes increasingly hard to push. The traditional snow shovel comes into utility here if you don’t have a snowblower.
Snowblowers come in various styles, power systems and sizes. A single stage snowblower has a rapidly moving paddle that grabs the snow and throws it. This is excellent for light snows up to about 4-6 inches where the desired snow throw distance is not that great.
Any more snow or if the snow is 2 or more inches wet and heavy, you will be wanting a two-stage snowblower. A two-stage snowblower has a feed auger that bites and moves snow inward toward the second stage, an impeller. The impeller is what rapidly shoots the snow out the chute. A single stage snowblower is generally faster, but a two stage can handle more snow, wet or dry.

What about the line of snow left at the end of my driveway from the snowplow?
This snow is already somewhat packed from cars driving over it and then from the snowplow itself. The longer the wait, the harder it will get. I generally use a two-stage snowblower to throw it up to the curb. But when there are ice chucks or it’s just too hard, I go for the grain scoop and ice chopper. The grain scoop has a larger capacity with a shorter handle. The shorter handle keeps the load close to the body reducing effort and counter force required.
What about car tire and foot traffic snow pack lines on my driveway and sidewalk?
That’s a tough one and depends on how frozen they are. If it is fairly fresh, they can usually be scraped away by an ice chopper. If frozen, might have to let mother nature melt it away or use rock salt-like product, sand, or a chemical to melt it away. Make sure you read the label for proper use and follow all local regulations. Sometimes a stiff broom can also rub away the thin later of snow packed on the pavement.
Last option – just leave it if you can. Mother nature will slowly melt it away with a little sun exposure. The decision is your’s.
What about steps?
The regular snow shovel will work just fine, but this is where I like to use a stiff broom. Brooms clean surfaces better than shovels, but you obviously can’t scoop any snow either. This is where cleanliness is key, especially with higher traffic areas and high risk for falling around steps. Don’t forget about those leaf blower options. The leaf blower and brooms are gentle on wood deck surfaces compared to the scraping of the shovels. Also, I cannot advise using metal shovels (or shovels with a metal leading edge) on wood decks due to the potential for damaging the wood – plastic is a better choice.
Are there any other tools or strategies for snow removal?
Of course there are, this list is not all-inclusive. ATV, tractor, and truck mounted snow blades sure make for easy work. Comment below with other items that you have found that make snow removal easier.
Snow Removal Tool Arsenal

Snowcaster 30SNC 36″ Bi-Directional Wheeled Snow Pusher
Push the snow out of the way without lifting a single scoop of snow.
Best for: 2″ or less of snow, sidewalks, driveways.

Aluminum Grain Scoop with D Handle
Move a lot of snow quickly while keeping the load close to the body.
Best for: Moving snow piles and snow plow ridge at end of driveway.

Libman 825 Rough-Surface Heavy-Duty Push Broom
Remove snow down to the pavement with this broom. Make sure you get one with thick and stiff bristles. The bristles should be non-absorbent so they do not break down with exposure to water.
Best for: Light snow, clearing steps, cleanly clearing areas cleanly down to the pavement.

Break ice and large chunks of frozen snow into smaller pieces with ease.
Best for: Frozen snow pack tire tracks and packed snow and end of driveway from snowplows.

Snow Joe 20″ Snow Shovel with Assist Handle
Lift snow up to knee height without having the bend at your back. Handle for each hand takes the guesswork out of where to put your hands.
Best for: General all purpose snow removal that can be used to scoop and push snow.

Suncast 18″ Snow Shovel and Pusher with Ergonomic Shaped Handle
Lift snow up to knee height without having the bend at your back. The user gets to select hand placement on the handle.
Best for: General all purpose snow removal that can be used to scoop and push snow.

Suncast 20″ Combination Snow Shovel/Pusher
This is your basic snow shovel with a straight handle.
Best for: General all purpose snow removal that can be used to scoop and push snow.

Gas powered blower. Heavier than the electric models. Can be tough to start during the cold winter months.
Best for: Clearing a light dust of snow from driveways, sidewalks, and decks.

Battery powered blower. Lighter weight compared to gas models. Starts as quick as you pulling the trigger. An extra battery should be charged and ready to go when clearing large areas.
Best for: Clearing a light dust of snow from driveways, sidewalks, and decks.

EGO Power SNT2102 21″ 56V Lithium-Ion Cordless Snow Blower
Single-stage snowblower. Cordless electric model that is quieter than gas with less vibration exposure for the user. Lighter weight and easier to control compared to most two-stage gas snowblowers. Might not hold up as well in wet or deep snows compared to two-stage models.
Best for: Light snow up to about 5-6″. Ideal for smaller driveways and sidewalks.

Ariens Deluxe 24″ Two-Stage Snow Blower
Two-stage gas snowblower. This can be a beast to handle, but is made for the deep stuff. Throws further than single-single stage models making it better for larger driveways. Can get sluggish is wet heavy snow, but handles it better than any other walk-behind snow thrower option.
Best for: 2 or more inches of snow. Large driveways and sidewalks.
Final Tips
- Take your time. Going quick will tire you out faster and makes you more prone to injury.
- Don’t be afraid to ask for help. The saying that many hands make for easy work is true. No snowfall is worth getting hurt over.
Shoveling snow is a great way to stay active during the winter months – but precautions must be taken and as you can see, selecting the right tool for the job is essential for making the job easier and more safe.
What other tools or tricks do you have for clearing snow? Post a comment and subscribe to stay tuned for more content like this.
Leave a comment, ask a question, or tell me what interests you